


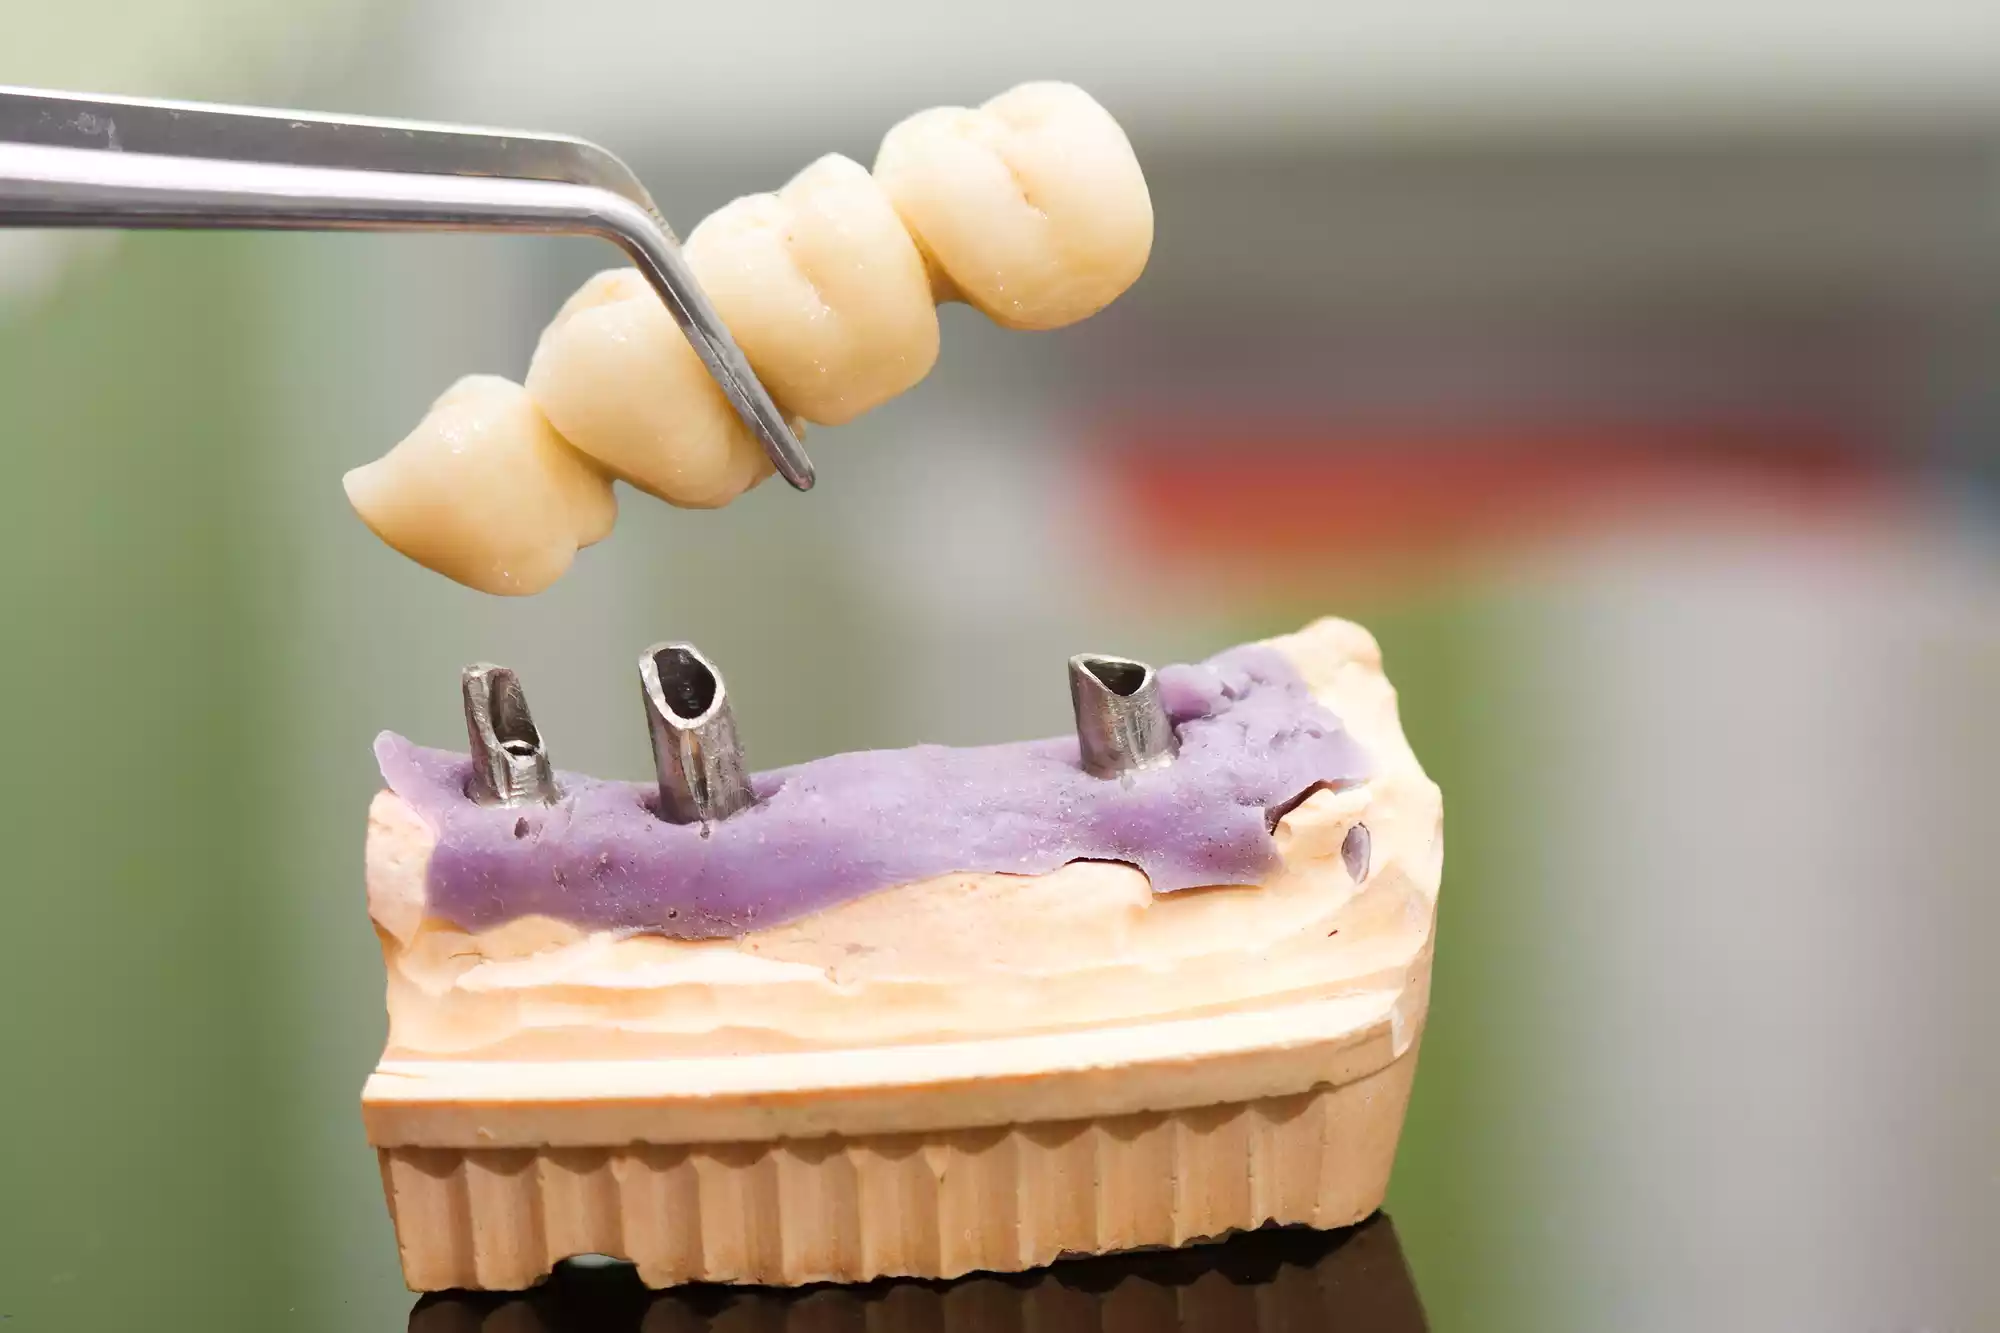
Knowing how to clean a dental bridge is an essential part of maintaining proper oral hygiene and ensuring its longevity.
A dental bridge is a prosthetic device used to fill the gap left by missing teeth, and it requires regular cleaning to prevent plaque build-up, gum disease, and bad breath. In this step-by-step guide, we will walk you through the process of how to clean a dental bridge properly, ensuring that you maintain a healthy and clean smile.
Step 1: Preparing for the Cleaning Process, Gather the Necessary Tools and Materials
When it comes to how to clean a dental bridge, preparation is key. Before diving into how to clean a dental bridge, make sure you have gathered all the necessary tools and materials to ensure a thorough and effective cleaning.
Start by ensuring that you have a soft-bristle toothbrush specifically designed for cleaning dental restorations. Avoid using a regular toothbrush as it may be too abrasive and cause damage to the bridge. Additionally, make sure you have dental floss, interdental brushes, and an antibacterial mouthwash on hand.
Next, gather a clean container or a sink filled with warm water. This will be used to rinse off the dental bridge during the cleaning process. Make sure the water is not too hot, as hot water can potentially damage certain types of dental bridges.
It is also important to have a designated space for the dental bridge while you clean it. This can be a small towel or a clean, flat surface where you can place the bridge during the cleaning process. This will help prevent the bridge from getting lost or accidentally dropped.
By taking the time to gather the necessary tools and materials before cleaning your dental bridge, you can ensure a smoother and more efficient cleaning process. So, before knowing how to clean a dental bridge, be prepared and equipped with the right tools to achieve optimal oral hygiene and keep your dental bridge in excellent condition.
Step 2: Applying a recommended bridge cleaner solution or paste
To second step on how to clean a dental bridge, involves applying a suitable bridge cleaner solution or paste. These specially formulated products are designed to target plaque and bacteria that may be lingering on your bridge.
Begin by applying a small amount of the recommended bridge cleaner solution or paste to a soft-bristled toothbrush. Ensure that the bristles are coated evenly.
Gently brush the surface of your dental bridge, paying attention to both sides. Apply light pressure and use circular motions to effectively loosen any debris or plaque. Remember to also brush the surrounding teeth and gums.
Using a bridge cleaner solution or paste helps to break down any remaining plaque or bacteria, promoting a cleaner and healthier dental bridge. It also assists in maintaining the overall integrity of the bridge, ensuring its longevity.
After completing this step, you are now ready to proceed to the next step of how to clean a dental bridge, which involves thoroughly brushing and flossing around the dental bridge for an effective clean.
Step 3: Thoroughly brushing and flossing around the dental bridge for effective cleaning
Once you have removed the food debris and plaque build-up, it’s time to move on to the next step of how to clean a dental bridge – thoroughly brushing and flossing around the dental bridge. This step is crucial in ensuring effective cleaning and maintaining optimal oral health.
To begin, choose a soft-bristle toothbrush that can easily reach the areas around your dental bridge. Apply a pea-sized amount of toothpaste to the brush and gently brush the surfaces of the bridge, focusing on the areas where it connects to your natural teeth.
In addition to brushing, it is essential to floss around the dental bridge to remove any debris or plaque that may be trapped between the artificial teeth and your natural teeth. Take approximately 18 inches of dental floss and wrap it around your fingers, leaving a small section in the middle to work with.
Insert the floss carefully between each tooth, including the dental bridge, and gently move it up and down to clean the sides. Be cautious not to snap the floss forcefully against the bridge, as it may loosen or damage it. Use a clean section of floss as you move from one tooth to the next to ensure a thorough cleaning.
Consider using an interdental brush with a small head to effectively clean the areas between the dental bridge and your teeth. These small brushes can reach tight spaces and offer an additional level of cleaning. Slowly insert the brush between your teeth and move it back and forth, making sure to clean both sides of the bridge.
After brushing and flossing, rinse your mouth thoroughly with water to remove any remaining toothpaste or debris. Inspect your dental bridge to ensure it is clean and free from any visible plaque or food particles. By following these steps on how to clean a dental bridge regularly, you can maintain a clean and healthy dental bridge for years to come.
Step 4: Using interdental brushes or water flossers to reach difficult-to-access areas
Once you have thoroughly brushed and flossed around your dental bridge, it’s important to target the hard-to-reach areas that regular brushing and flossing may not effectively clean. This is where interdental brushes or water flossers can be incredibly helpful.
An interdental brush is a small, specially designed brush that can fit between the gaps of your dental bridge. Gently insert the brush between each gap, moving it back and forth to remove any remaining food particles or plaque. Be careful not to apply excessive pressure, as this could damage your bridge or irritate your gums.
Alternatively, you can use a water flosser to clean those difficult-to-access areas. Fill the reservoir of the water flosser with warm water and adjust the pressure setting according to your comfort level. Position the tip of the water flosser between each gap of your dental bridge and allow the pulsating water to dislodge any debris or plaque.
When using interdental brushes or water flossers, pay close attention to the spaces around the abutment teeth and the gumline. These areas are particularly prone to accumulating plaque and bacteria. Take your time and ensure you clean each gap thoroughly, moving from one side of the bridge to the other.
After you have thoroughly cleaned all the difficult-to-reach areas, proceed to the next step on how to clean a dental bridge to ensure the complete cleanliness of your dental bridge.
Step 5: Rinsing, inspecting, and confirming the cleanliness of your dental bridge
After you have completed brushing, flossing, and using interdental brushes or water flossers, it is important to rinse your mouth thoroughly. Use lukewarm water to rinse your dental bridge and surrounding teeth. This will help remove any remaining residue or cleaning solution.
As you rinse, pay attention to any areas that may still feel unclean or have a sticky sensation. If you notice such areas, repeat the cleaning process for those specific spots. It is essential to ensure that all plaque, food debris, and cleaner solution are completely removed.
Inspect the dental bridge closely. Look for any signs of remaining plaque or discoloration. Shine a light on the bridge to check for any missed spots. If you notice any areas that require additional cleaning, address them promptly using the appropriate cleaning techniques.
To maintain regular dental visits for professional cleanings and check-ups. Your dentist will be able to assess the condition of your dental bridge and make any necessary adjustments or repairs.
Rinsing, inspecting, and confirming the cleanliness of your dental bridge are crucial steps to ensure proper oral hygiene and the longevity of your bridge. By following these steps on how to clean a dental bridge diligently, you can help prevent complications and maintain a healthy smile.
By following these step-by-step instructions on how to clean a dental bridge, you can ensure its longevity and maintain optimal oral health. Regular cleaning of your dental bridge is crucial to prevent plaque buildup, gum disease, and other complications that may arise. Remember to consult with your dentist in Tijuana for specific recommendations and personalized care instructions.